Laser & 3D
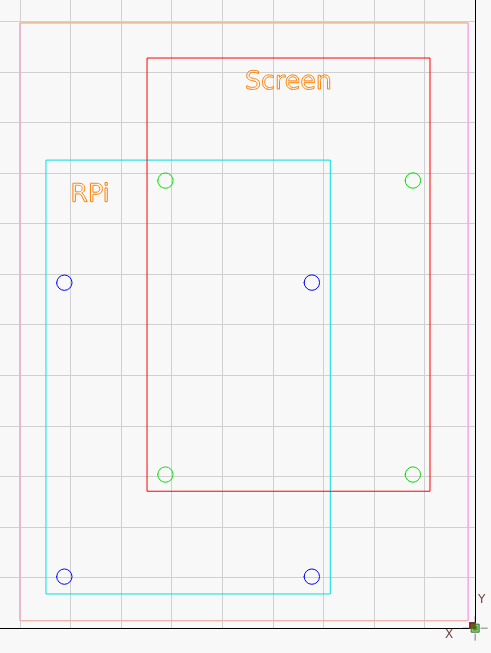
The Cash Box housing is designed around the touch screen. If the screen manufacture redesigns or stops selling the screen, a new version of the housing will be released to house a new screen.
The design files are version-tracked in a Github repository:
The files are released as Lightburn files, as that software seems to be the 'industry standard' for hobby laser engravers. If you need it in a different format, reach out on the Support channel. Both the cutting and engraving happen in the same file, listed as different layers within the file. Engraving happens before cutting, to reduce the chance of parts moving unexpectedly.
Laser Cutting & Engraving
There are three main laser engraving files.
Screen and Short Sides
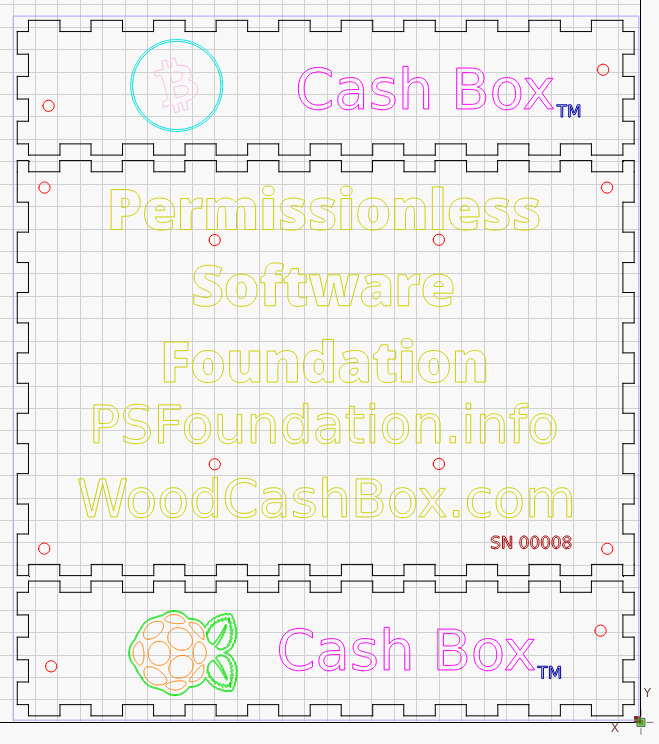
The touch screen mount and the two short sides are contained in screen-mount.lbrn2.
Back and Long Sides
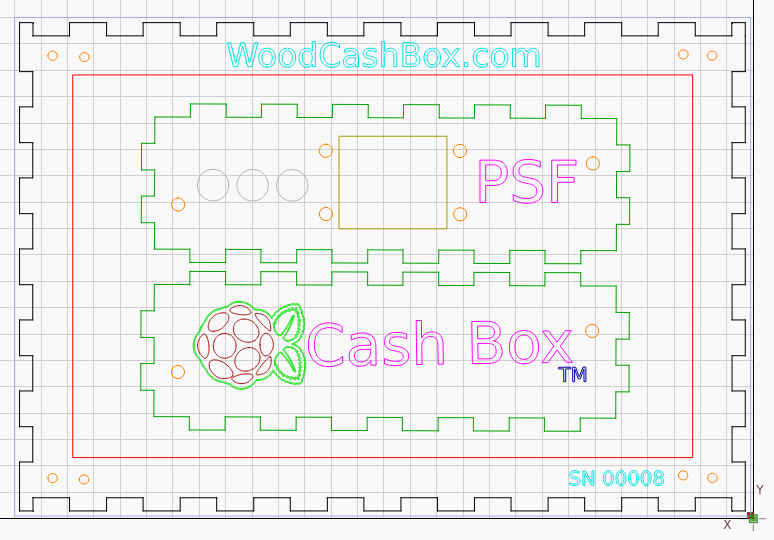
The back and the long sides of the box are contained in back-and-sides.lbrn2.
Pi Mount
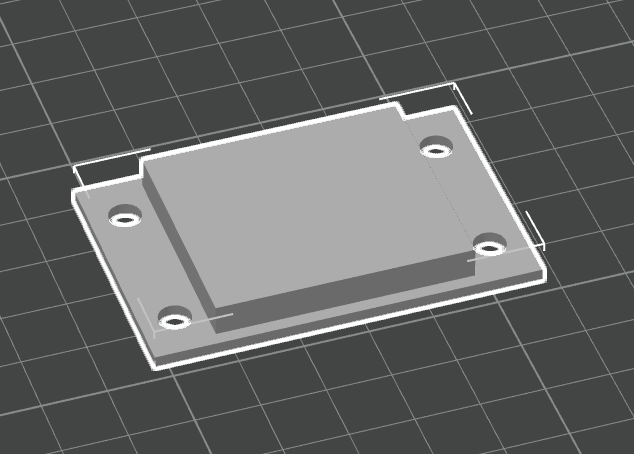
Because the NVMe HAT is on the bottom of the Raspberry Pi, the mount on the touchscreen can not be used directly. This offset plate allows the Pi with the HAT to be mounted to the touchscreen.
3D Printing
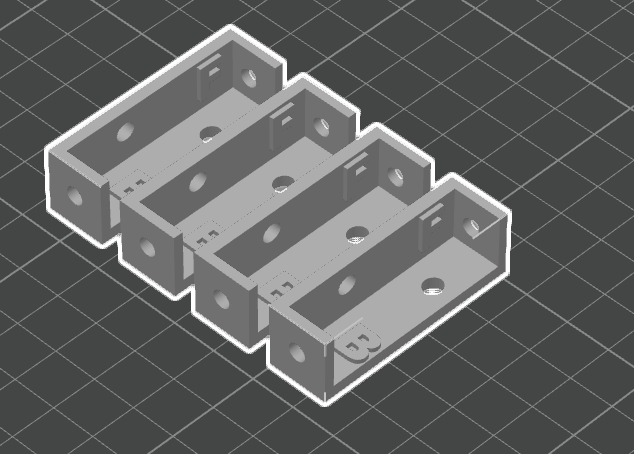
There are two 3D printed parts that are optional for the construction of the Cash Box: the corner brackets and the punch out.
Corner Brackets
The corner brackets are used to mechanically tie the corners together. The wood corners could be glued instead, but the plastic corner brackets make it easy to take the box apart and put it back together. The file for these are in corner-bracket.stl.
Punch Out
The plastic punch out is used to plug the big hole when it's not in use. The plug is removed when you need to connect accessories to the USB ports of the Raspberry Pi. These are often USB hard drives or ethernet cords. The file for this part is cable-plug.stl.